EC2 Setting
by Cori0. Instance 생성
Nvidia Driver 지원하는 인스턴스 목록
Install NVIDIA drivers on Linux instances - Amazon Elastic Compute Cloud
Install NVIDIA drivers on Linux instances An instance with an attached NVIDIA GPU, such as a P3 or G4dn instance, must have the appropriate NVIDIA driver installed. Depending on the instance type, you can either download a public NVIDIA driver, download a
docs.aws.amazon.com
인스턴스 생성 시, Allow SSH traffic ~, 인터넷에서 HTTP, HTTPS 트래픽 허용 모두 체크해 줌
1. Env Setting
1) Initial setting
# update packages
$ sudo apt update
$ sudo apt upgrade -y
$ sudo reboot

# install default libraries
$ sudo apt install tree -y
$ sudo apt install unzip -y
$ sudo apt-get install vim
$ sudo apt-get install gcc
$ sudo apt install net-tools
$ sudo apt-get install build-essential
$ sudo apt-get install python3-pip
$ sudo apt install ufw

# ssh setting
$ sudo apt-get install ssh
$ sudo vi /etc/ssh/sshd_config
  file: PermitRootLogin yes  (기존 구문 주석 처리)
$ sudo service ssh status
$ ps -ef | grep sshd
$ ifconfig

* host key verification failed error 뜨는 경우
$ local computer  - ssh-keygen -R [ip address]

# ubuntu version check
$ lsb_release -a

# ssh 접속 시간 설정
$ whereis ssh    # ssh 파일 위치 조회
$ cd /etc/ssh
$ sudo vi sshd_config    # config 파일 수정
  file:
    ClientAliveInterval  주석 해제 후 값 설정 (100 -> 100s)
    ClientAliveCountMax  주석 해제 후 값 설정 (3 -> 3번 count)

  * 100 x 3 = 300s동안 접속 유지됨
$ sudo systemctl restart ssh   # ssh 재시작
2) 방화벽 설정
# ufw setting
sudo ufw status
sudo ufw app list
sudo ufw allow 8888
sudo ufw enable
방화벽 설정 적용하고 나면 해당 ip 주소로 접속이 불가하게 됨
Step 1. 인스턴스 중지
Step 2. 새로운 인스턴스 생성
Step 3. 기존 인스턴스 볼륨 해제 (EC2 -> Elastic Block Store)
Step 4. 새로운 인스턴스 볼륨 할당
Step 5. 새로운 인스턴스 접속
Step 6. 방화벽 설정
sudo lsblk   # 연결된 블록 확인
mkdir mnt    # 새로 연결한 블록 마운트
sudo mount /dev/xvdf1 ./mnt
cd mnt/etc/ufw
sudo vi ufw.conf   # ufw 설정 파일 수정
  file: ENABLED: no로 설정 후 저장
Step 7. 새로운 인스턴스 볼륨 해제
Step 8. 해제한 볼륨 기존 인스턴스에 연결
* Ref
EC2, ufw enable 후 ssh 접속 불가 문제
Can’t access SSH after enable UFW in EC2 AWS? — Koffee With Kode
3) Conda Setting
Installing on Linux — Anaconda documentation
You can verify your installer’s data integrity with the SHA-256 hash that matches your chosen installer. See the hash index for a list of installers and their hashes. For more information on hash verification, see cryptographic hash validation in the off
docs.anaconda.com
# conda install
$ curl -O https://repo.anaconda.com/archive/Anaconda3-2023.09-0-Linux-x86_64.sh
$ bash Anaconda3-2023.09-0-Linux-x86_64.sh
$ sudo reboot

# virtual env create
$ conda create --name cori python=3.11 -y
$ conda activate cori
4) Jupyter Notebook Setting
$ pip install jupyter notebook
$ jupyter notebook --generate-config
$ ifconfig  -> net 주소 복사
$ python

from jupyter_server.auth import passwd

passwd()
# 'argon2:$argon2id$v=19$m=10240,t=10,p=8$+kss7c4E9sxa+OtB6nAwvA$v3IxCAItYVwlpo2u/a4TNtZz7i7F1td2I3V09rUYXH0' 복사

$ vi ~jupyter_notebook_config.py   (맨 아래줄에 다음 명령어 추가)
  file: c.get_config()
  file: c.NotebookApp.port = '8888'
  file: c.NotebookApp.password = u'argon2:$argon2id$v=19$m=10240,t=10,p=8$+kss7c4E9sxa+OtB6nAwvA$v3IxCAItYVwlpo2u/a4TNtZz7i7F1td2I3V09rUYXH0'
  file: c.NotebookApp.ip = '172.31.0.164'

$ jupyter notebook --ip=0.0.0.0 --port=8888 --allow-root
jupyter notebook 실행 후 AWS ec2 instance public ipv4:8888 주소창에 치면 접속할 수 있음
5) Nvidia-Driver
6) Cuda Setting
CUDA Installation Guide for Linux
The installation instructions for the CUDA Toolkit on Linux. 13. Post-installation Actions The post-installation actions must be manually performed. These actions are split into mandatory, recommended, and optional sections. 13.1. Mandatory Actions Some ac
docs.nvidia.com
7) Cudnn Setting
2. Docker Setting
0) Docker 명령어
# 도커 이미지 조회
sudo docker images

# 도커 컨테이너 실행
sudo docker run [image 이름]

* option
  -i or --interactive: 컨테이너와 상호 작용하는 대화형 모드
  -t or --tty: 컨테이너 내부의 터미널 접속, 터미널 세션 유지 가능   * 둘이 붙여 -it로 사용
  -e or --env: 컨테이너 내부에서 사용할 환경 변수 설정
  -v or --volume: 호스트와 컨테이너 간 볼륨 매핑 설정  (-v 호스트경로:컨테이너경로)
  -d or --detach: 컨테이너를 백그라운드 모드로 실행

# 실행중인 도커 조회
sudo docker ps    # -a 옵션을 주면 정지된 도커도 확인 가능

# 실행중인 도커 종료
sudo docker stop "Container ID"

# 실행중인 도커 접속
sudo docker attach "Container ID"

# 도커 삭제
sudo docker rm "Container ID"   # rmi "Image ID" 명령어로 이미지도 삭제 가능

# 도커 이미지 Commit
sudo docker commit "Container ID" "Image name"

# 도커 이미지 저장
sudo docker save '저장할 파일명.tar' '도커 이미지 이름'

# 도커 이미지 태그
sudo docker tag '태그할 이미지' '새로운 이미지 이름:version'

# 도커 Hub에 이미지 업로드
sudo docker push [도커 이미지 이름]
1) Docker Install
sudo apt update

sudo apt install -y apt-transport-https ca-certificates curl software-properties-common
curl -fsSL https://download.docker.com/linux/ubuntu/gpg | sudo gpg --dearmor -o /usr/share/keyrings/docker-archive-keyring.gpg
echo "deb [arch=amd64 signed-by=/usr/share/keyrings/docker-archive-keyring.gpg] https://download.docker.com/linux/ubuntu $(lsb_release -cs) stable" | sudo tee /etc/apt/sources.list.d/docker.list > /dev/null

# Install Docker
sudo apt update
sudo apt install -y docker-ce docker-ce-cli containerd.io

# Start and Enable Docker
sudo systemctl start docker
sudo systemctl enable docker

# verifying docker installation
sudo docker --version
2) Get Docker Image
많이 사용하는 Docker Image들은 주로 Docekr Hub에 공개되어 있다.
Docker
hub.docker.com
sudo docker pull chromadb/chroma3) Run Docker Image
 # running the image on port 8000 of our virtual machine
 sudo docker run -p 8000:8000 chromadb/chroma

# pytorch docker
sudo docker run -p 8888:8888 -i -t pytorch/pytorch
* docker 내에서 패키지 설치하려면 apt-get update 한 번 입력해주어야 함
docker run --gpus all -p 8888:8888 -i -t -v C:/Users/finger/Desktop/rag:/rag pytorch/pytorch
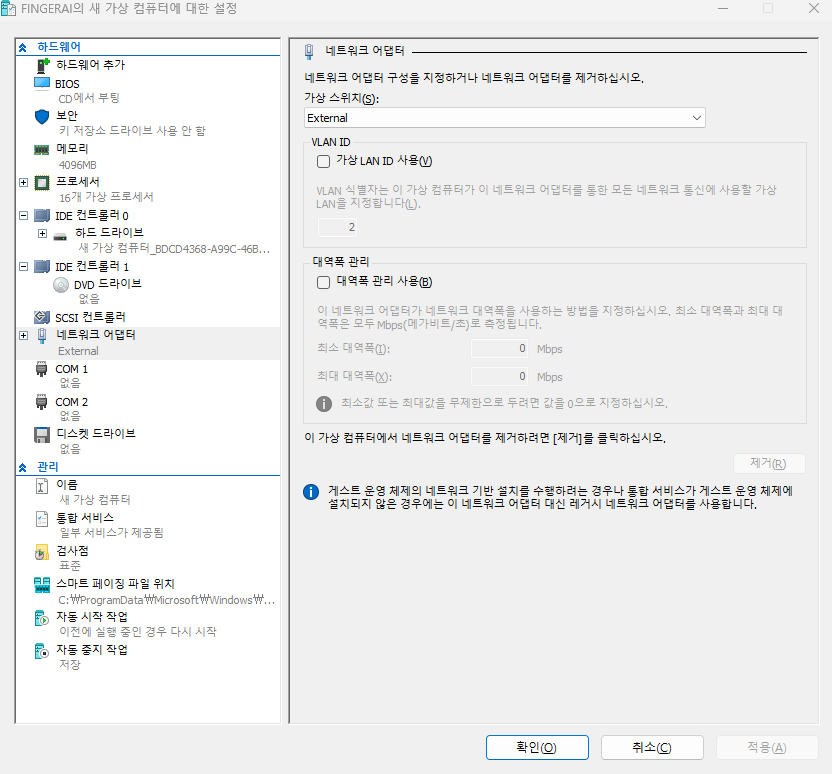
3. Hyper-V Setting
1) Network Setting
$ sudo vi /etc/netplan/00-installer-config.yaml

# 다음과 같이 작성 (수정)
network:
  ethernets:
    eth0:
      dhcp4: no
      addresses:
        - 192.168.10.75/24
      gateway4: 192.168.10.1
      nameservers:
        addresses: [168.126.63.1]
version: 2

$ sudo netplan apply
$ sudo apt update

# network 상태 확인
$ ip a s
$ ping 8.8.8.8
$ nslookup google.com
* Ref
ubuntu netplan 으로 고정 ip 설정하기(static ip config)
2) GPU 잡아주기
* Hyper-V에 GPU 할당해주는 작업은 Window Server에서만 지원함 !
개별 디바이스 할당을 사용하여 그래픽 디바이스 배포
DDA를 사용하여 Windows Server에서 그래픽 디바이스를 배포하는 방법과 가상 머신에 GPU를 탑재하는 방법을 알아봅니다.
learn.microsoft.com
Window Server에서 다음 과정 수행
# vm 이름 및 변수 할당
# 제어판 - 장치관리자 - 디스플레이 어댑터 - GPU 카드 속성 - 자세히
$ $vm = "cori2"
$ $gpudevs = "PCI\ ~"   # 인스턴스 경로
$ $locationpath = "PCIROOT ~"   # 위치 경로

# vm 설정
$ Set-VM -Name $vm -AutomaticStopAction TurnOff   # 자동 중지 작업 설정
$ Set-VM -GuestControlledCacheTypes $true -VMName $vm   # CPU에 Write-Combining 설정
$ Set-VM -LowMemoryMappedIoSpace 3Gb -VMName $vm   # 32 bit MMIO 공간 구성
$ Set-VM -HighMemoryMappedIoSpace 33280Mb -VMName $vm   # 32 bit 이상 MMIO 공간 구성

# 호스트 서버 설정
$ Disable-PnpDevice  -InstanceId $gpudevs   # 호스트 서버에서 GPU 장치 사용 안 함
$ Dismount-VMHostAssignableDevice -force -LocationPath $locationPath   # 호스트 서버에서 GPU 장치 분리

# vm에 GPU 할당
$ Add-VMAssignableDevice -LocationPath $locationPath -VMName $vm

# vm 실행 후 할당받은 GPU 조회
$ nvidia-smi

# vm에서 GPU 장치 회수
$ $vm = "cori2"   # vm 이름 변수 선언 및 할당
$ $locationPath = "PCIROOT ~" GPU 위치 경로 변수 선언 및 할당
$ Remove-VMAssignableDevice -LocationPath $locationPath -VMName $vm   # vm에 연결된 PCI 장치 삭제
$ Mount-VMHostAssignableDevice -LocationPath $locationPath   # PCI 장치를 호스트 서버에 연결
* Ref
'CS > Server' 카테고리의 다른 글
| 알아두면 쓸데있는 Ubuntu 명령어 모음 (1) | 2024.09.25 |
|---|---|
| Amazon ec2 instance 기본 세팅하기 (0) | 2024.03.11 |
| Window 딥러닝 서버 세팅 일지 (0) | 2023.02.24 |
| Ubuntu 딥러닝 서버 세팅 일지 (0) | 2023.02.06 |
| VSCode를 이용한 Ubuntu 원격 서버 접속 (0) | 2022.10.04 |
블로그의 정보
코딩하는 오리
Cori